How to Screen mirroring iPad to Macbook
Last Updated on Nov. 23, 2021 |Screen Mirroring
Sometimes, you need to see the screen and the content of your iPad in a better resolution. We will show you the 3 most efficient ways to mirror iPad to Mac with the latest Apple iPad operating system iPadOS 15, AnyMirror, and QuickTime.
If you want to show team members the progress of the project you are working on, or the ability of the new app features, it is definitely better to do it on a larger screen, with better graphics, where every detail can be seen, instead of on your iPad. With the help of specific features, you can easily duplicate the screen of your iPad to Mac and facilitate presentation.
Screen mirroring iPad to Macbook isn’t just for developers, it is useful for teachers, students, journalists, or if you just want to show the video you made during the holiday to your family or friends. Instead of making everyone stare at a small screen, you can show your little masterpiece in high resolution on your Mac.
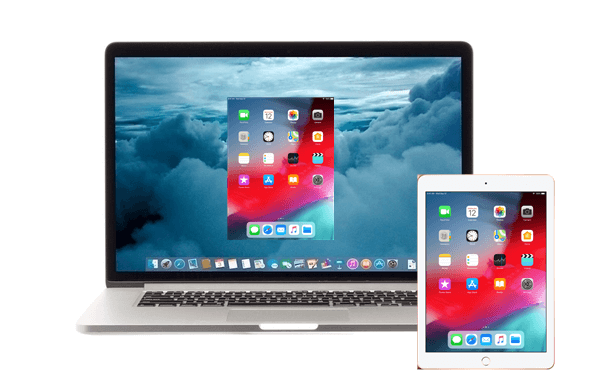
How to Mirror iPad to Macbook
Therefore, in this article, you can read all about the two most convenient and efficient ways to mirror iPad to Macbook.
Part 1. How to Mirror iPad on Macbook with iPadOS 15
For users who have newer devices, it’s important to know that iPadOS 15 – Apple’s latest operating system for the iPad, and macOS Monterey supports AirPlay that enables you to establish wireless communication between devices like iPad, Apple TV, and Mac.
If you decide to mirror your iPad to Mac with AirPlay or some third-party app, you can find on the Apple store, you need to make sure that both devices are connected to the same network. Good thing is that you don’t need a cable for connecting devices because AirPlay allows you an easier link between iPad and Macbook.
Also, if you are in a situation that your network connection isn’t available, an appropriate USB cable can save the day.
Step 1: The first step you need to take is to upgrade your iPadOS with the iPadOS 15, and then continue the process of screen mirroring.
Step 2: Connect your iPad and Mac to the same Wi-Fi.
Step 3: Open Control Center on your iPad by swiping down from the top-right corner.
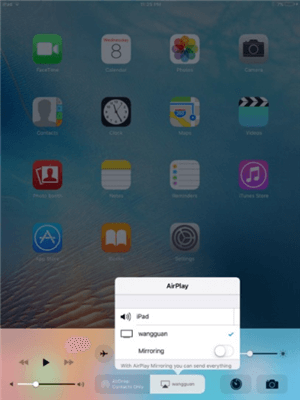
Open Control Center on your iPad
Step 4: Press the Screen Mirroring button, to enable these features.
Step 5: Scroll through the list of AirPlay destinations, and find the Macbook to which you want to mirror your iPad screen.
Step 6: After clicking on the right option in the AirPlay list, you will be able to see the iPad screen on the Mac display.
Part 2. Mirror iPad to Macbook with QuickTime
Every Macbook has a pre-installed QuickTime app that grants you access to a variety of features. Screen mirroring is one of them. But, before you start to mirror the iPad screen with QuickTime you should make sure that iTunes and Image Capture are closed, because these two programs may start syncing with the iPad when you connect a device with Mac via cable.
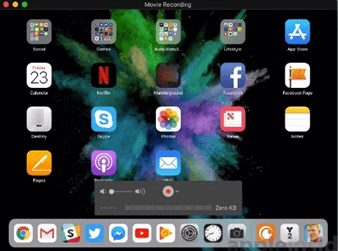
How to Mirror iPad to Mac via QuickTime
A very important bit of information is that QuickTime doesn’t require AirPlay or the same Wi-Fi network connection on both devices, but you need to use the USB cable.
By following the next steps, the mirroring process will be completed quickly.
Step 1: After connecting devices with a lightning USB cable, launch the QuickTime on your Mac.
Step 2: Choose File and then New Movie Recording from the menu that pops up on the screen.
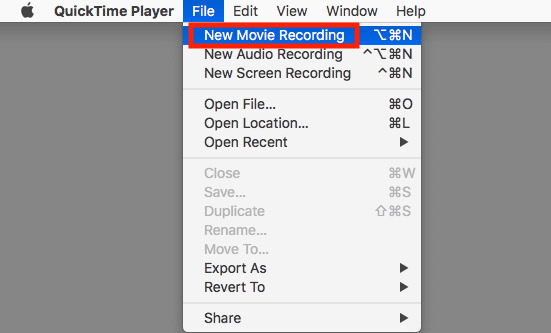
Choose File and then New Movie Recording
Step 3: The input device will be set to the iSight camera. To change it to the iPad device, press the down arrow, which is positioned next to the Record button.
Step 4: Browse through the camera list, then select iPad device, and replicate iPad screen will appear on the Mac display. Now, every action you take on the iPad will immediately show on the Macbook screen, and your job is done.
Part 3. How to Mirror iPad to Mac with AnyMirror
If the above two methods don’t work for you, you may need a professional mirroring tool – AnyMirror, which can screen mirroring iPad to MacBook in an easy way. With AnyMirror, you can not only mirror your iPad screen to your MacBook, but you can also mirror the camera and microphone of the iPad to Macbook at the same time. In addition, you can connect your iPhone via Wi-Fi or USB cable. There is the reason why you need AnyMirror:
- Auto Rotation and Zoom in – The mirrored screen on the computer will automatically rotate with the device screen between portrait and landscape. And you can freely magnify the screen or zoom out.
- Annotate in Real-Time – AnyMirror offers various annotation tools for you to use during mirroring. You can add arrows, shapes, texts, mosaics, or draw anything freely, to clarify your idea more clearly.
- Live Stream Screen & Audio – Live stream screens with audio straight to YouTube, or to conferencing software, like Zoom, Microsoft Teams, etc.
- Multiple Using Scenarios – Meeting, Game Live Streaming, School Teaching or Work Demonstration, AnyMirror will meet all various screen-casting needs and is suitable for any scene without special equipment requirements.
Get the latest version of AnyMirror to screen mirror your iPad to Macbook by following the steps below:
Step 1. Download AnyMirror both on your iPad and Mac.
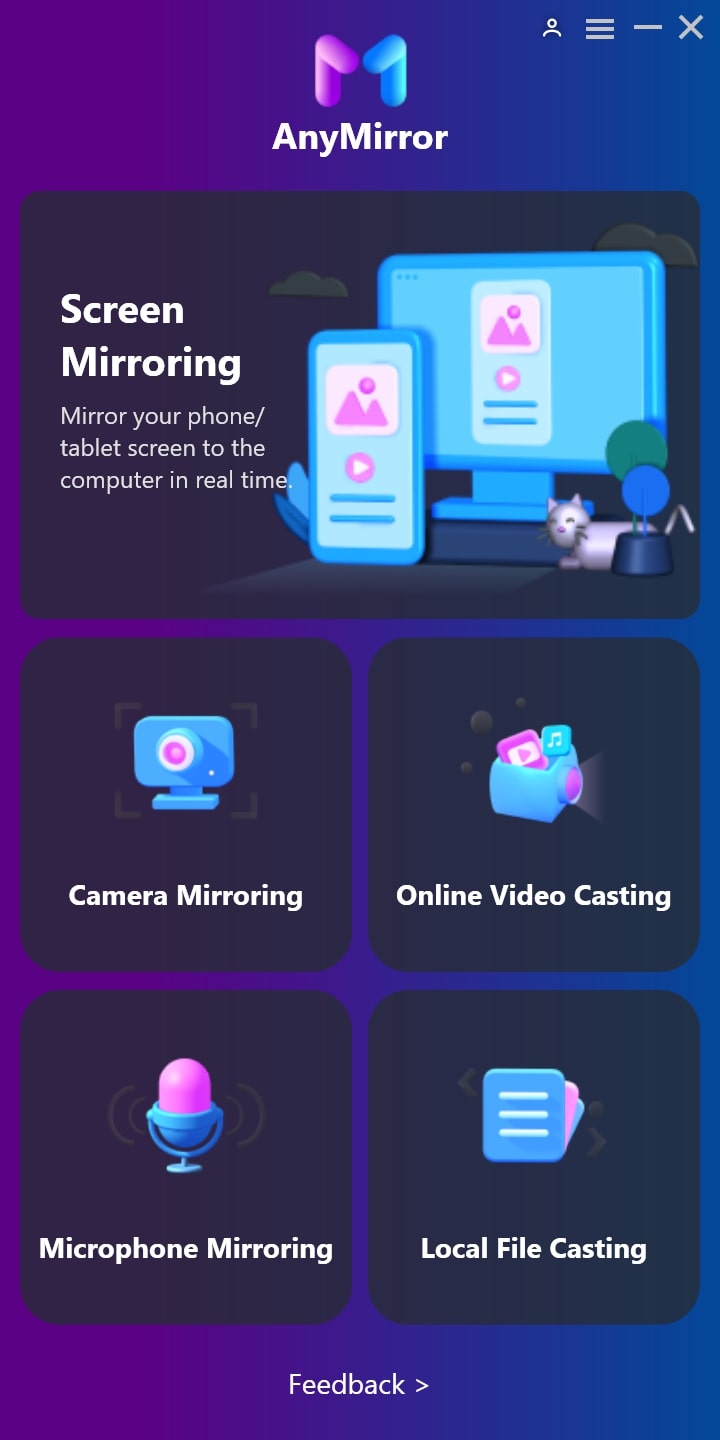
Select Function on AnyMirror
Step 2. Connect your iPad to the computer with a USB cable
1. Open AnyMirror on your Mac and connect your iPad with a USB cable > Choose Screen Mirroring on your Mac and tap on OK.
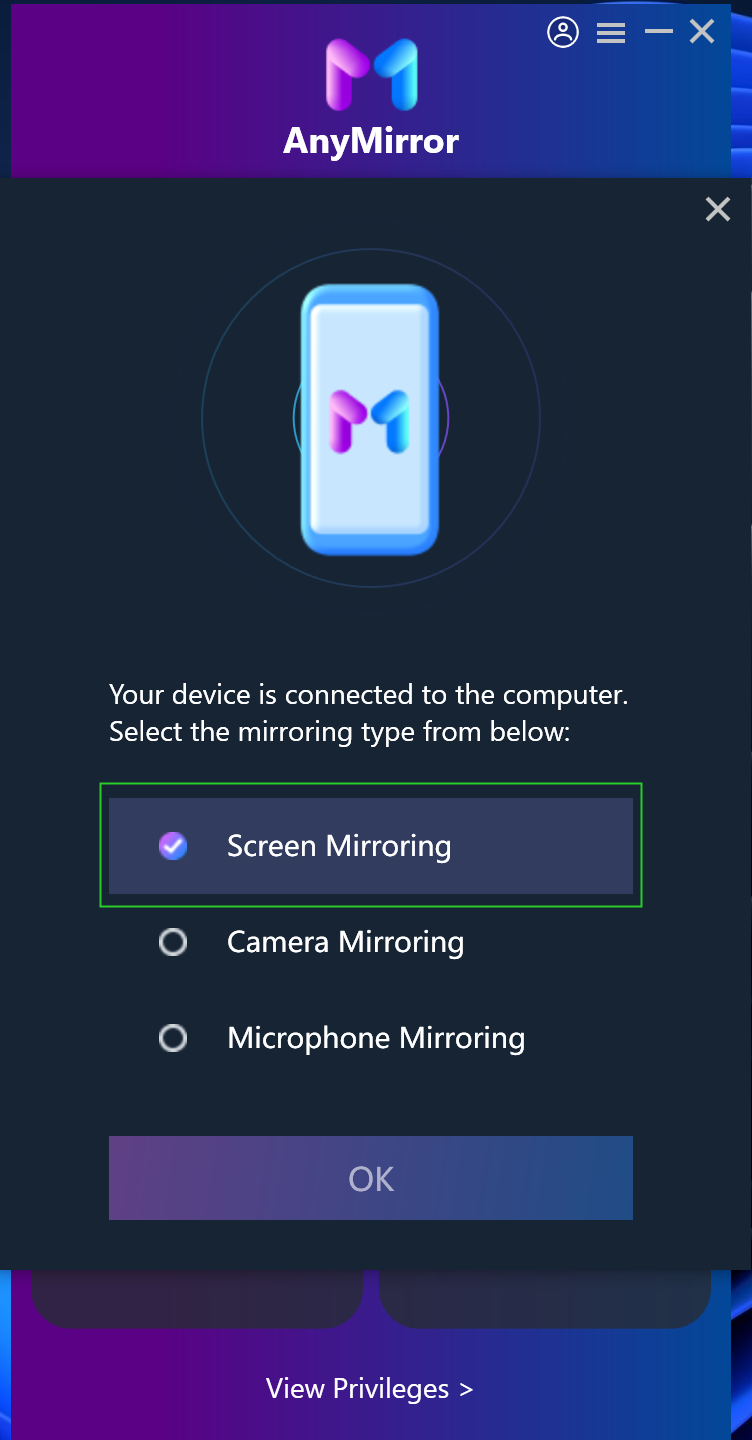
Choose Screen Mirroring On Computer
2. Select Screen Mirroring mode on your iPad > Select USB > Click the Start button >Click Start Broadcast button.
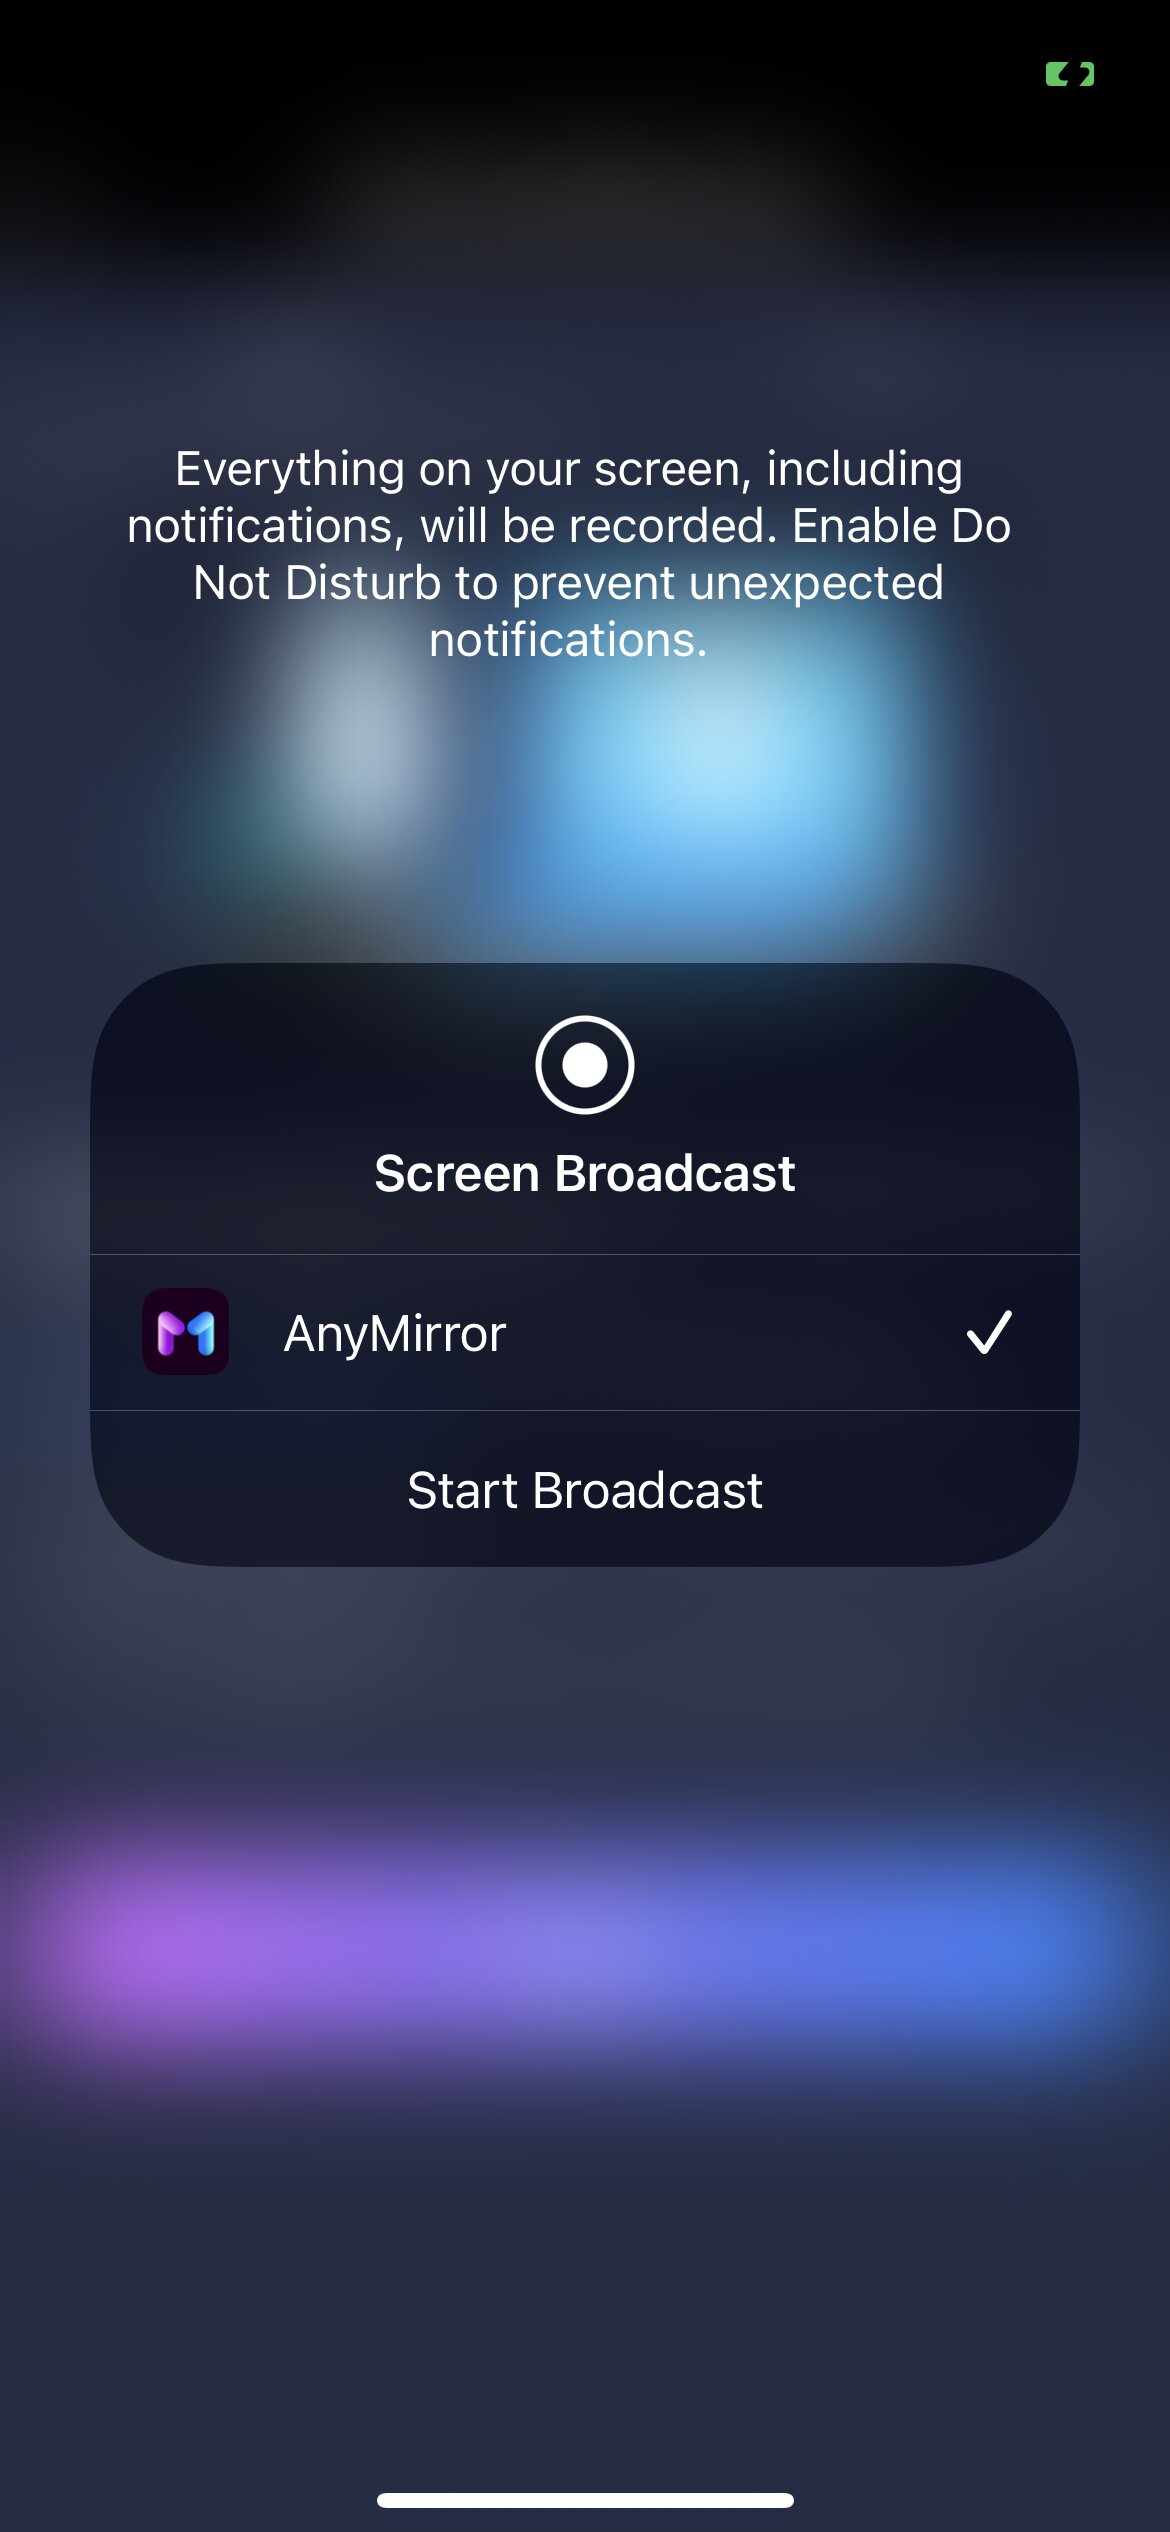
Click Start Broadcast on the Device
Step 3. Mirror iPad to MacBook Successfully
When your iPad is detected successfully by AnyMirror, then you can go to any screen that you want to mirror to the computer.
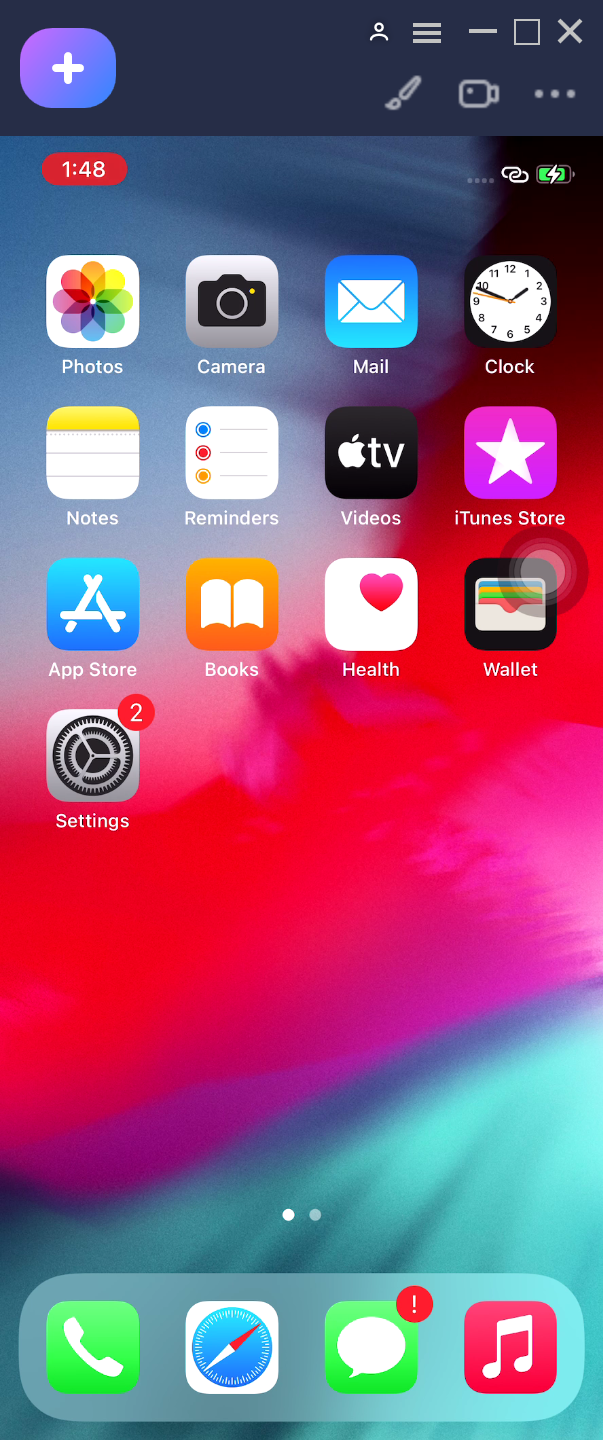
Succeed to Mirror the iOS Device
If it is the first time that you connect iPad to the computer you need to click “Trust” on your iPad. Please make sure you’ve installed iTunes on the computer to help detect iPhone/iPad.
The Bottom Line
The process of iPad screen mirroring to Mac is not complicated, and it will certainly contribute to your better presentation at work or make it funnier playing games on the bigger display. The availability of the Wi-Fi network at that moment can also have an impact on how smooth this process is going to be. You can choose the one that suits you best, AnyMirror may be the first choice.
Product-related questions? Contact Our Support Team to Get Quick Solution >
Get the latest news, how-to and everything from AnyMirror!
AnyMirror How-To Articles
The knowledge base of screen mirroring, video/audio casting, and so on.
