How to Record your Screen and Audio at the Same Time on a Mac
Last Updated on Dec. 30, 2021 |Screen Mirroring
There are countless reasons why someone might need to record the screen contents along with the audio channel. It’s good to know that the aforementioned operation is not very difficult to execute, even for someone with no technical skills.
Mac computers are very powerful devices suitable for professional or private use, and they can be used to create visually impressive multimedia contents of different types. In many situations, this requires recording the content of the computer screen along with native audio such as the speaker’s voice o ambient sound. To accomplish this task, it’s necessary to use specialized software that has the capacity to combine live pictures with sound.
In fact, there are several software tools that can easily capture screen content together with audio. Those tools are very simple to use, so once you learn how to screen record on Mac with audio you will be able to document everything you do without too much effort. Here is what you need to know before you are ready to start recording.
How Do I Record My Screen with Audio in QuickTime Player
Perhaps the most logical choice if you want to capture your screen with audio is to use QuickTime Player, which is included on the computer and there is no need to install it. This software package is quite effective with many simple media tasks, including multimedia creation. QuickTime allows Mac users to create amazing videos using nothing but the computer and its built-in microphone, adding the voice over the screen capture. Here is the sequence of steps to follow if you want to record your screen with the accompanying audio:
Step 1. Find the QuickTime Player app on the Mac and run it.
Step 2. Open the File menu and choose New Screen Recording from the drop-down menu.
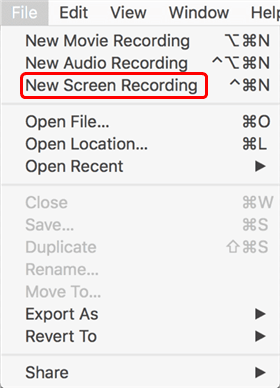
Record Screen with Audio in QuickTime Player
Step 3. Click on the arrow located next to the record button to select the audio source.
Step 4. Choose the microphone you want to use (either built-in or external).
Step 5. Click on the Record button to start recording your screen.
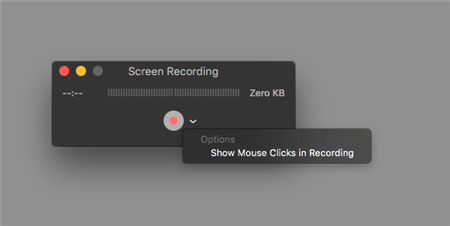
Click on the Record button
Users also have the possibility to control which part of the screen should be visible in the recording and whether mouse actions should be included. Once you want to finish your recording session, a single click will stop both video and audio channels. You can save the completed video to your hard drive in the .mov format, so you can edit it later or share it with others via the internet.
The downside of this method is that QuickTime is only able to record audio from a microphone and that you need an additional tool in order to capture system sounds. In some situations, it is necessary to include computer-generated sounds (i.e. if you are recording a gaming session or music-related video), so it may be a better idea to search for a software tool that can handle both processes at once.
How to Screen Record on Mac with Audio using AnyMirror?
In case you are wondering how to record internal audio on Mac while you are capturing your screen and you don’t want to use QuickTime Player, you might need to download a third-party app with this feature. AnyMirror is an acclaimed mirroring and record app with many useful functions and it can effectively replace QuickTime as your primary screen recorder on Mac.
With AnyMirror, you can easily record the content of your screen and combine it with webcam feed, microphone feed, and captions for a great-looking video of any length. You can also mirror the content of your screen to a computer, allowing you to work even more flexibly and enjoy your content in high resolution.
Most importantly, using the screen recording function in AnyMirror is very simple and intuitive. If you don’t know how to screen record on Mac with sound, just follow the steps described below and you will successfully make your first recording:
Step 1. Download AnyMirror and install it on your Mac computer > At the same time you need to download it from the App Store to your phone.
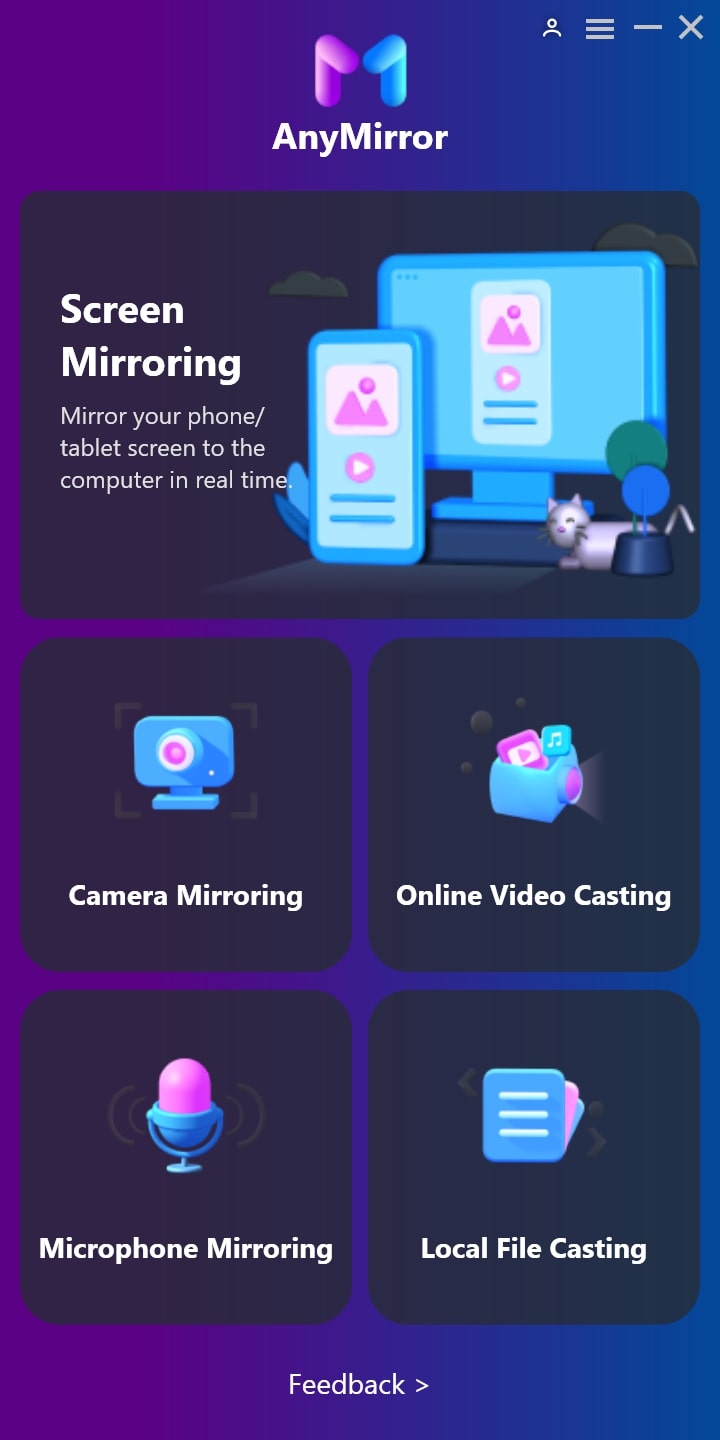
Select Function
Step 2. Run the application and connect your device to Mac > Choose the Screen Mirroring option from the main menu.
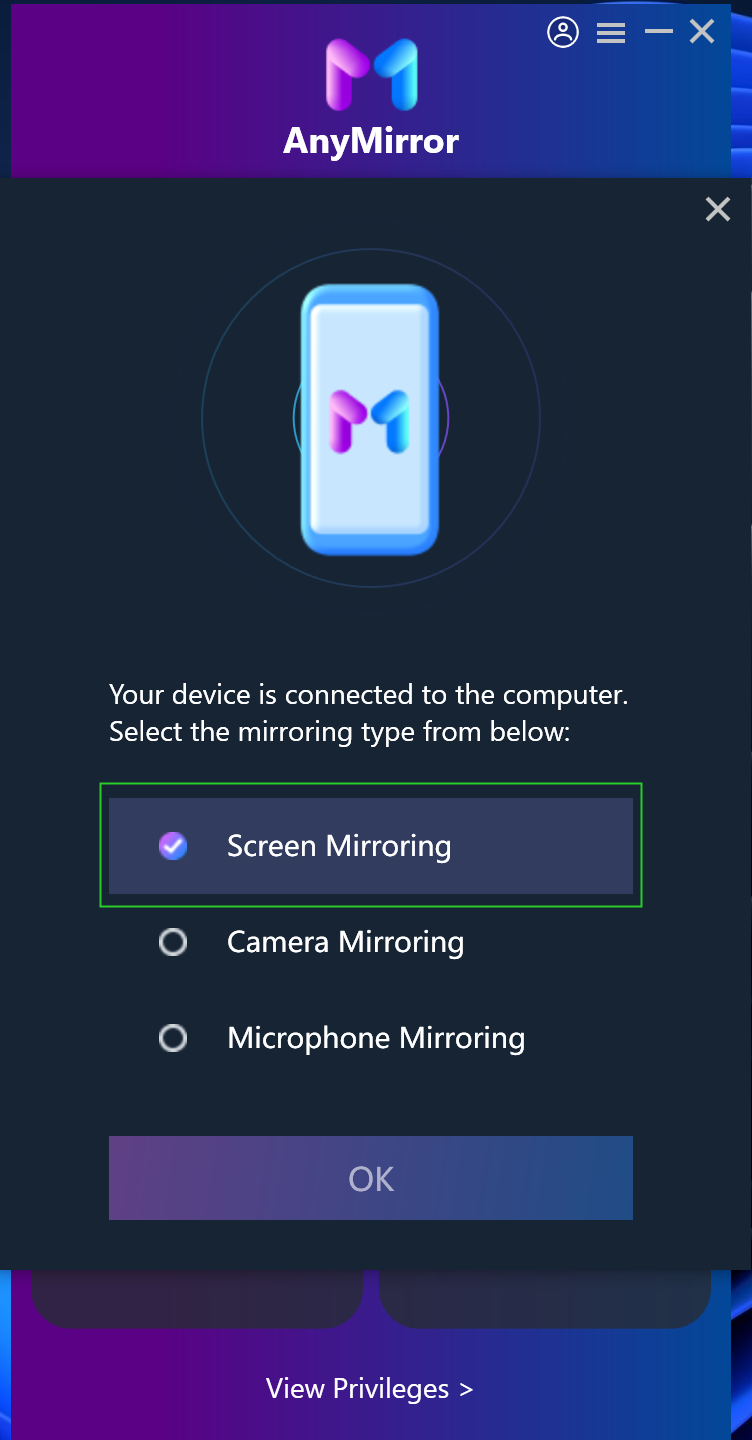
Choose Screen Mirroring On Computer
Step 3. Click on the camera-shaped icon to open the Recording Settings menu.
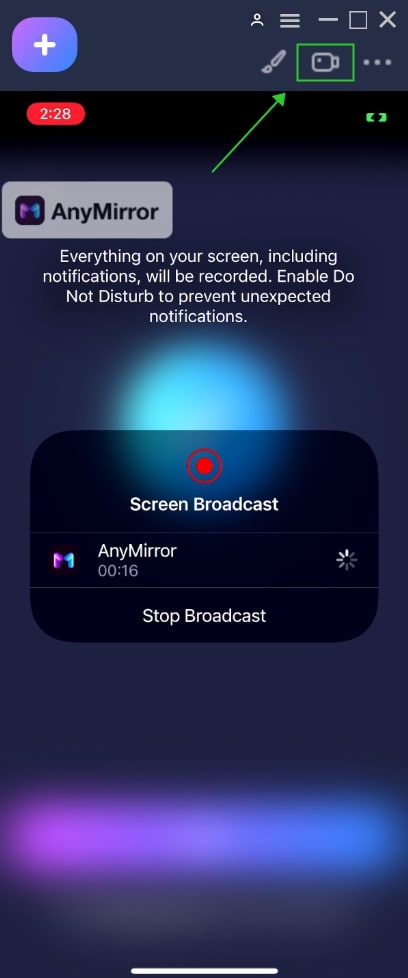
Click the Camera Shaped Button
Step 4. Select the audio source and set up the volume for system sound and microphone > Click on the Start REC button to start your recording session.
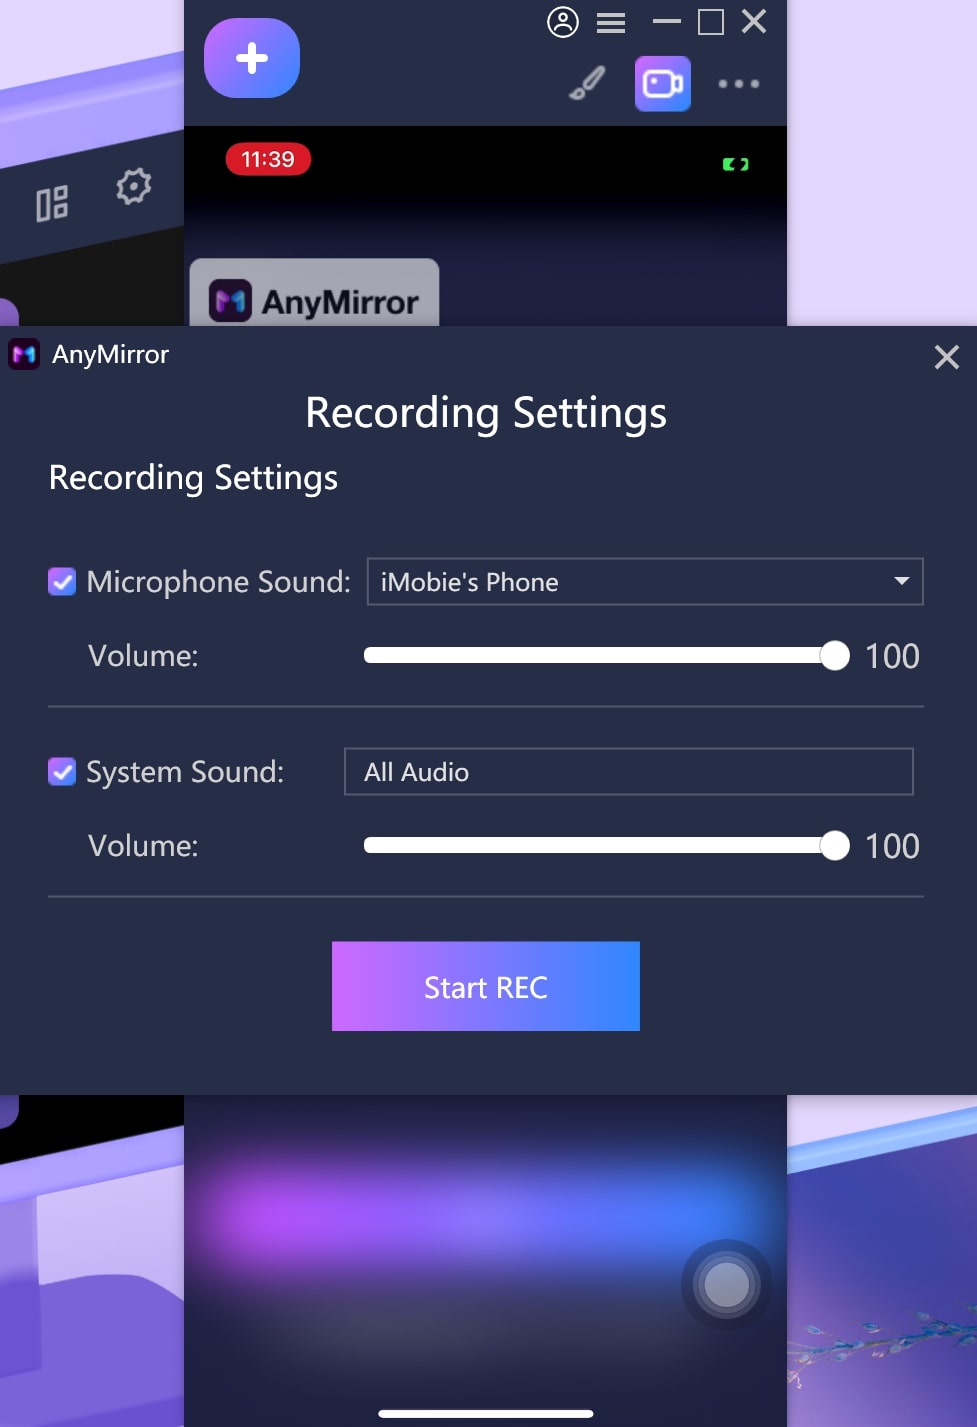
Make Settings for Screen Recording
As you can see, with AnyMirror you can overcome the issue with system sound and successfully capture both visual and audio components at once, regardless of the source you want to use. Because of this, it makes sense to use AnyMirror whenever you need to create multimedia content on your Mac. Since AnyMirror is free to download, you can try it out and decide whether it’s worth getting the full version.
Conclusion
Once you master how to screen record on Mac with audio, you can be more productive in your work and more creative with how you use your time. In this article, we presented two different ways to combine screen capturing with audio recording, and depending on your exact needs you could use either of them to complete this task quickly and effectively.

Product-related questions? Contact Our Support Team to Get Quick Solution >
![]() Roger Smith
Roger Smith
Get the latest news, how-to and everything from AnyMirror!
AnyMirror How-To Articles
The knowledge base of screen mirroring, video/audio casting, and so on.